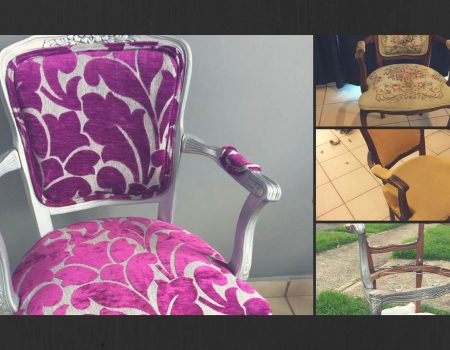
If you’ve seen all the awesome vintage chair makeovers on Pinterest, you know there are tons of drool worthy projects to choose from. I had been wanting to give DIYing a try but was pretty intimidated by the whole process. Until I found this $25 chair ad I figured in the worse case scenario, it was not a big loss of money. So I decided to go ahead, give it a try and try this armchair makeover and attempt to learn how to reupholster vintage chair.
This is how the chair looked when I bought it.
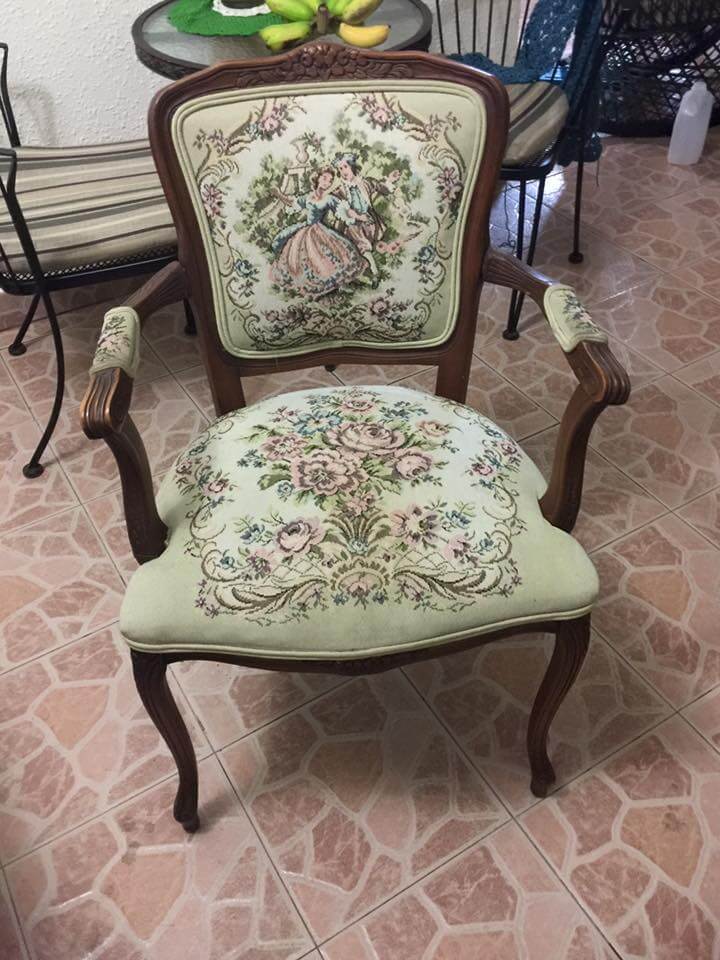
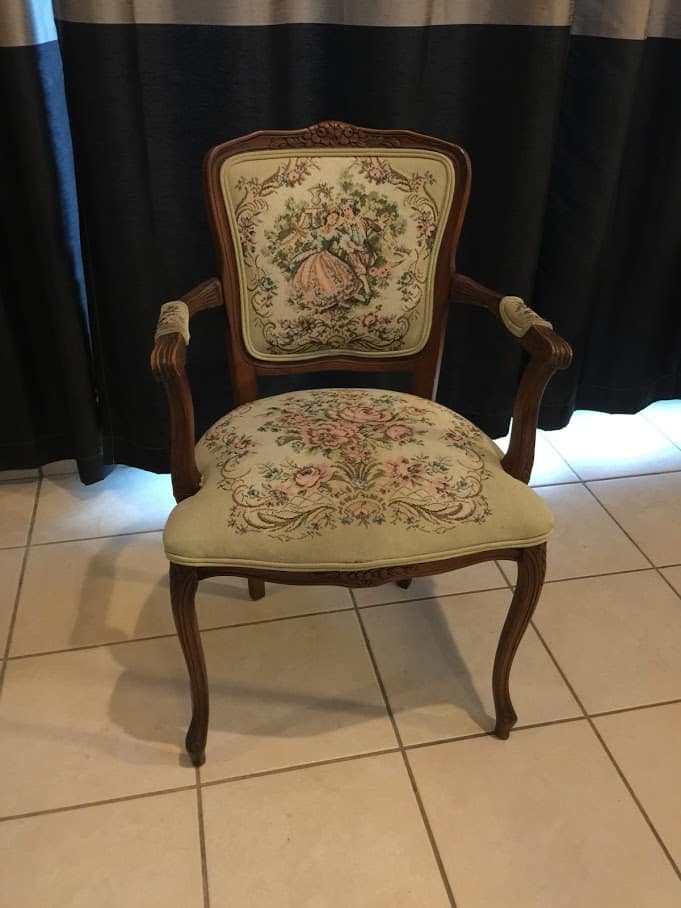
I started by taking a good look at the structure of the chair. I wanted to make sure there were no issues and it was worth putting the work, time and possible tears into this thing.
Featured articles
Isis Casalduc Bellisima  https://www.bellisimaonline.com/wp-content/uploads/2018/11/logo-bellisima-magenta-2-1.png 190 40 https://www.bellisimaonline.com/wp-content/uploads/2018/12/marcas-de-maquillaje-que-no-hacen-pruebas-en-animales-1.png 1600 1000
 Isis Casalduc Bellisima  https://www.bellisimaonline.com/wp-content/uploads/2018/11/logo-bellisima-magenta-2-1.png 190 40 https://www.bellisimaonline.com/wp-content/uploads/2018/12/marcas-de-maquillaje-que-no-hacen-pruebas-en-animales-1.png 1600 1000
 Isis Casalduc Bellisima  https://www.bellisimaonline.com/wp-content/uploads/2018/11/logo-bellisima-magenta-2-1.png 190 40 https://www.bellisimaonline.com/wp-content/uploads/2018/04/receta-bolitas-de-queso-fritas.jpg 1200 420
 Isis Casalduc Bellisima  https://www.bellisimaonline.com/wp-content/uploads/2018/11/logo-bellisima-magenta-2-1.png 190 40 https://www.bellisimaonline.com/wp-content/uploads/2018/01/maquillaje-bien-económico-2-1-1200x420-2.jpg 1200 420
 Isis Casalduc Bellisima  https://www.bellisimaonline.com/wp-content/uploads/2018/11/logo-bellisima-magenta-2-1.png 190 40 https://www.bellisimaonline.com/wp-content/uploads/2018/01/ideas-de-meriendas-saludables.jpg 1200 420
 Isis Casalduc Bellisima  https://www.bellisimaonline.com/wp-content/uploads/2018/11/logo-bellisima-magenta-2-1.png 190 40 https://www.bellisimaonline.com/wp-content/uploads/2018/11/DIY-agate-drawer-pulls-1.png 1600 1000
 Isis Casalduc Bellisima  https://www.bellisimaonline.com/wp-content/uploads/2018/11/logo-bellisima-magenta-2-1.png 190 40 https://www.bellisimaonline.com/wp-content/uploads/2018/01/ideas-decoracion-para-la-habitacion.png 653 416
 The chair only had some scratches that would be fixed with paint. So… yeah! It was a go.

I started to remove the fabric. This particular chair was pretty old, and I did not like how it smelled. And there is no way in hell I am going to put a lot of work into a project only to have a beautiful (hopefully) but stinky chair in the end! Sooo…. I did something that should NOT be done. At least not how I did it. So I’ll save you from making the same mistake. Do NOT wash the foam in your washer and put it in your dryer. I ended up with a ton of tiny pieces of foam all over my washer and dryer.
If you feel like washing it is the way to go, hand wash the foam parts on a sunny day and let them dry. If you are just starting (and experimenting), try to remove the fabric in one piece. Or break it as little as possible. If you look closely in the next photo, you’ll see the fabric that used to be on the seat part.
Those parts will be used later on as a guide so you can have a better idea of how to cut the fabric for each section.

Here is the chair, now ready for her makeover. Makeover edition: reupholster vintage chair.

Before proceeding to paint and reupholster, it ocurred to me I needed to check the springs! Something I should have actually done BEFORE I bought this puppy. Luckily, she was in good shape.
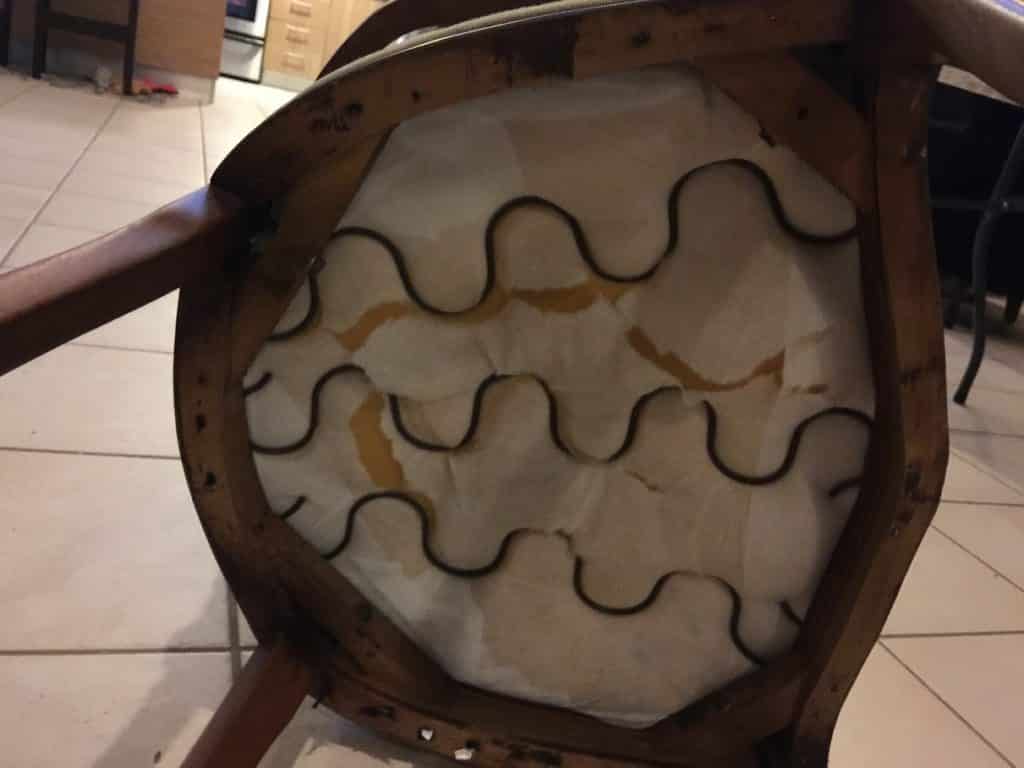
This is how the frame looks without fabric and foam.
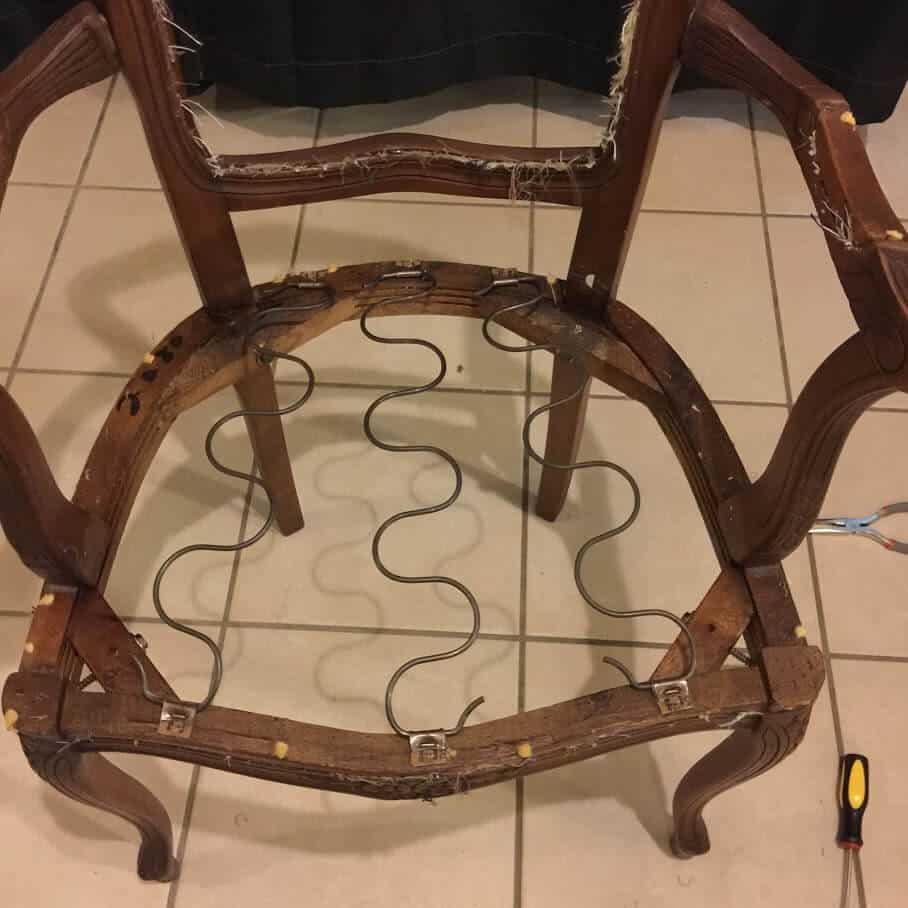
If the foam is in good shape, don’t remove it. Just use a little disinfecting spray and let it dry. BUUUUT…. remember when I said there were small particles all over my washer? Yeah… rookie mistake. I could have used a solution to eliminate the odor and voilá.
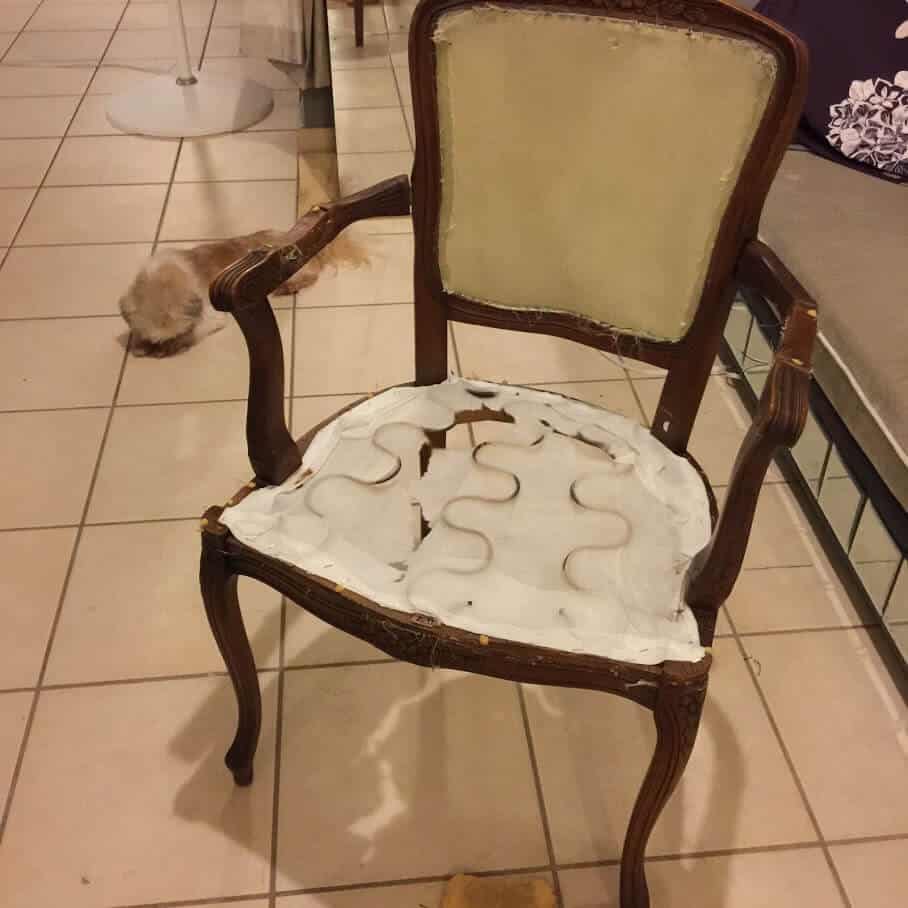
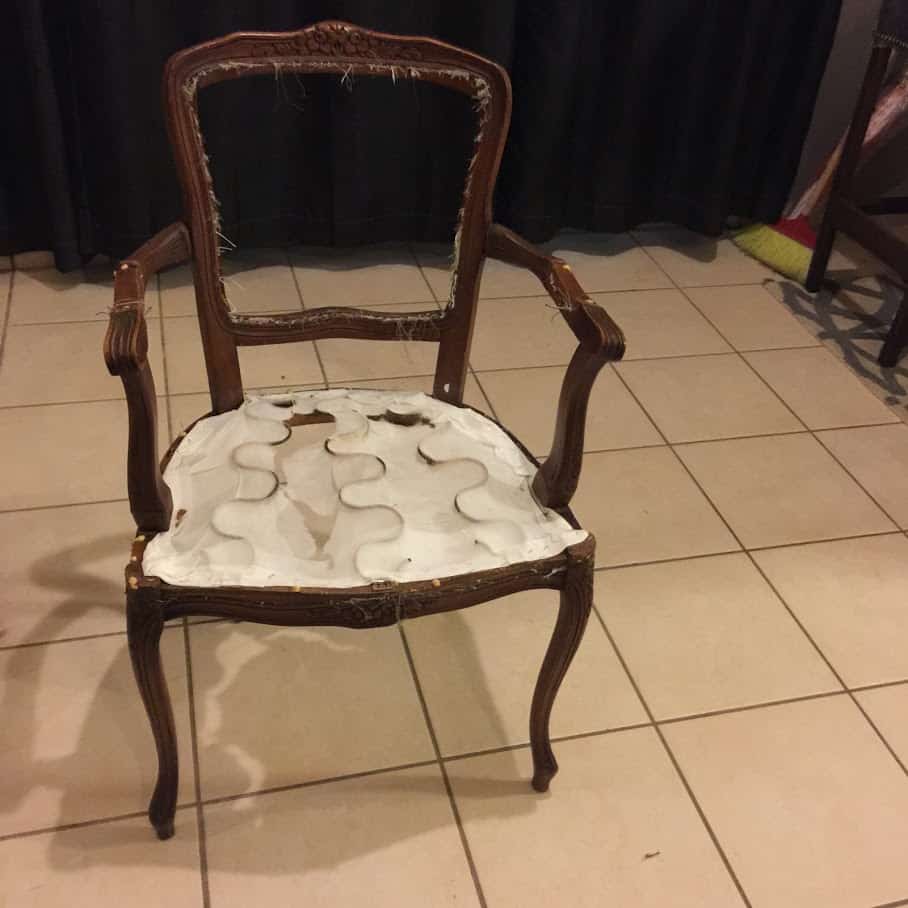
Most people think that this type of chair has wood or something on the back to keep it from sinking or collapsing when you recline. I though the same. But nope, not at all. Just fabric. Just very tightly stapled fabric both on the back and front. And it is all it really needs to work, be comfortable but pretty solid too.
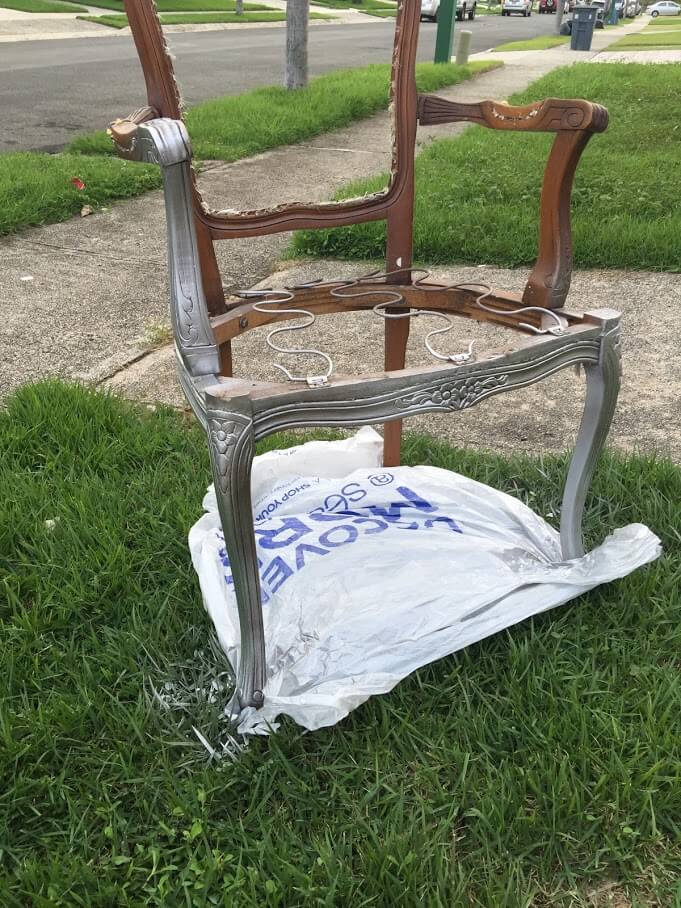
I wanted to do something crazy with this chair. So I painted it silver. Since this was my first reupholstery, makeover project, I decided to just spray paint it. My reasoning was that maybe it was the best way to avoid boosting the odds of something not working lol. Here the chair halfway painted.
Below, a picture of it all painted. To protect the paint, I gave it a hand of a semi gloss, clear coating. I let it dry overnight to make sure paint was completely dry before starting to staple fabric to this pretty silver thing.
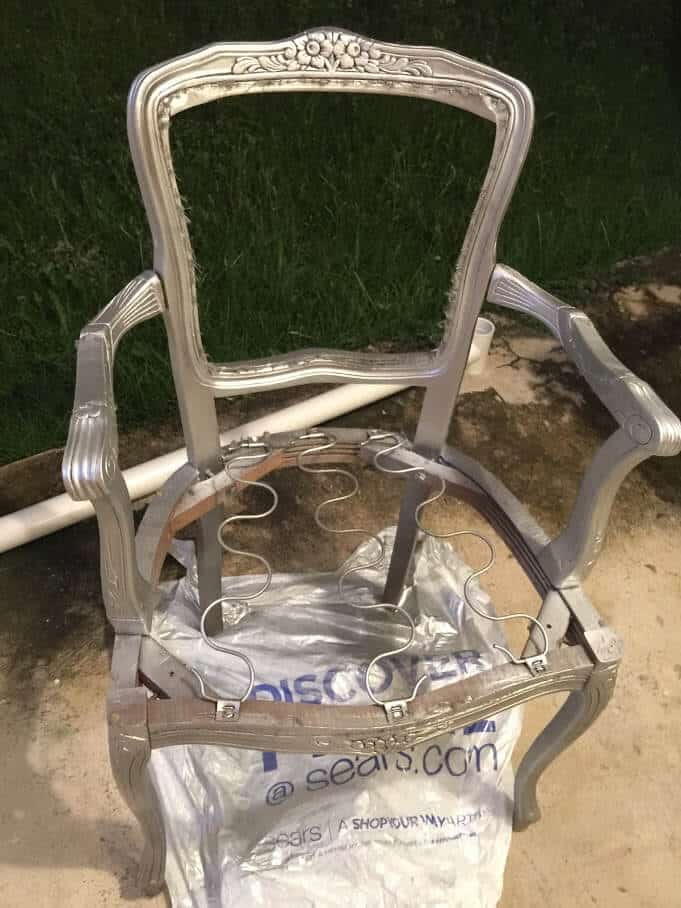
Now it was time for the sweat… and tears part. Remember when I mentioned using the old fabric as a guide to cut the new pieces of fabric? Well…. enter HARD LEARNED LESSONS and the tears part. Soooo… me being the rookie that I was ( I am posting this a year later, and about five upholstery projects, and some basic upholstery classes later) I cut the fabric just like the old one. Errrmmm you NEED EXTRA FABRIC TO HAVE SOMETHING TO PULL AS YOU STAPLE!!! 🙁
Another hard learned lesson…. never, NEVER use an expensive fabric for your first project. If you make a mistake and have to redo something, it won’t hurt as bad. Sure, expensive is a relative term. Especially considering that some designer upholstery fabrics can be up to over $100 per yard. This was certainly not THAT expensive. But at $25 each yard, it was not a super cheap fabric. And you need a couple of yards for this type of chair. I kinda started freaking out for a minute thinking this was not going to work. So I stopped, took a break to calm down and come back to it with a fresh mind.
I figured I did have enough fabric to cut another piece for the seat. And this time it seemed to have the right proportions.
IMPORTANT: Use the old fabric as a guide. It’s AWESOME to keep the right shape and also to not waste too much fabric. BUT, make sure you cut leaving at least a good three inches of extra fabric. This will give you some room and also provide the fabric you need in order to pull HARD and staple the fabric all tight and smooth.
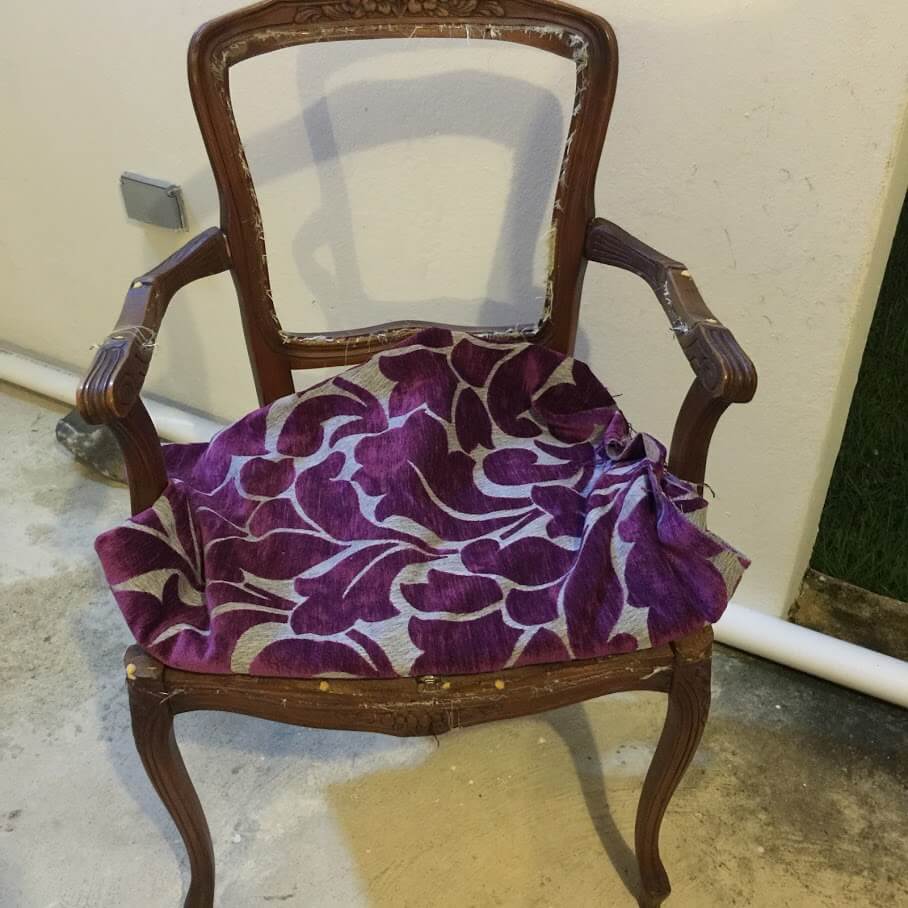
Reupholster vintage chair: beginning to measure fabric
If you are working with a fabric with a patter, make sure to analyze which part you want to face which direction BEFORE you start stapling. Sure enough I used a pattern on my first chair. You now, because I cannot make my life simple.
Then I started stapling the fabric to the frame. I’ll save you guys. Do not, DO NOT staple the whole thing. Staple ONCE at the center, then back, then check if it looks like the pattern and fabric look ok. ONLY THEN start stapling all over. I had to remove the fabric, and staples twice because I went crazy stapling right off the bat.
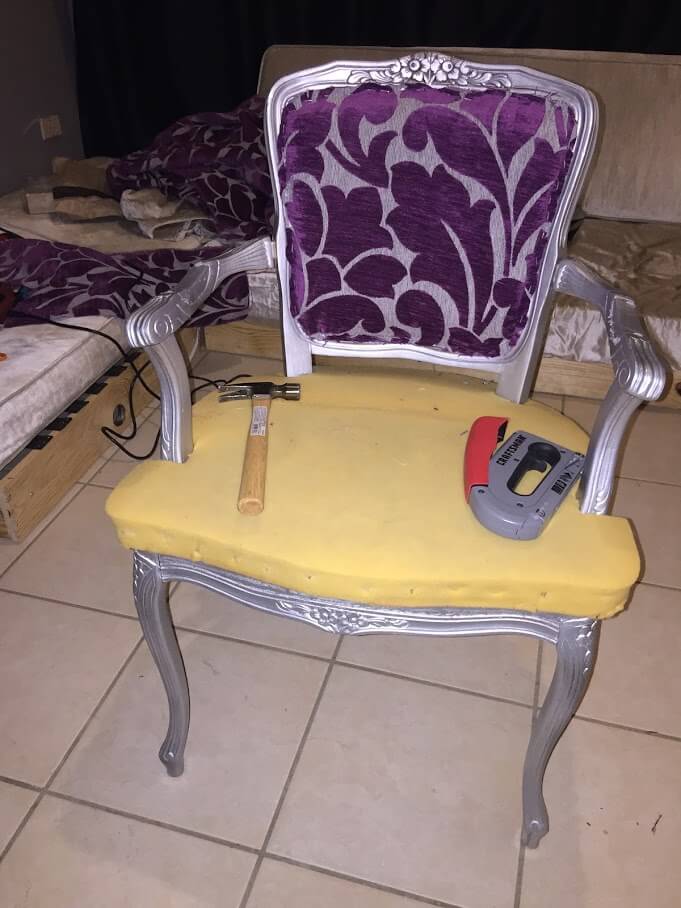
As you can see in this photo, although I have since decided I LOVE DIYing and upholstery and makeovers and gotten an air compressor and a staple gun for it, back then I just used a basic, inexpensive stapler and a hammer for some staples that did not go all the way in. Oh, and some plyers for removing the staples when I had to.
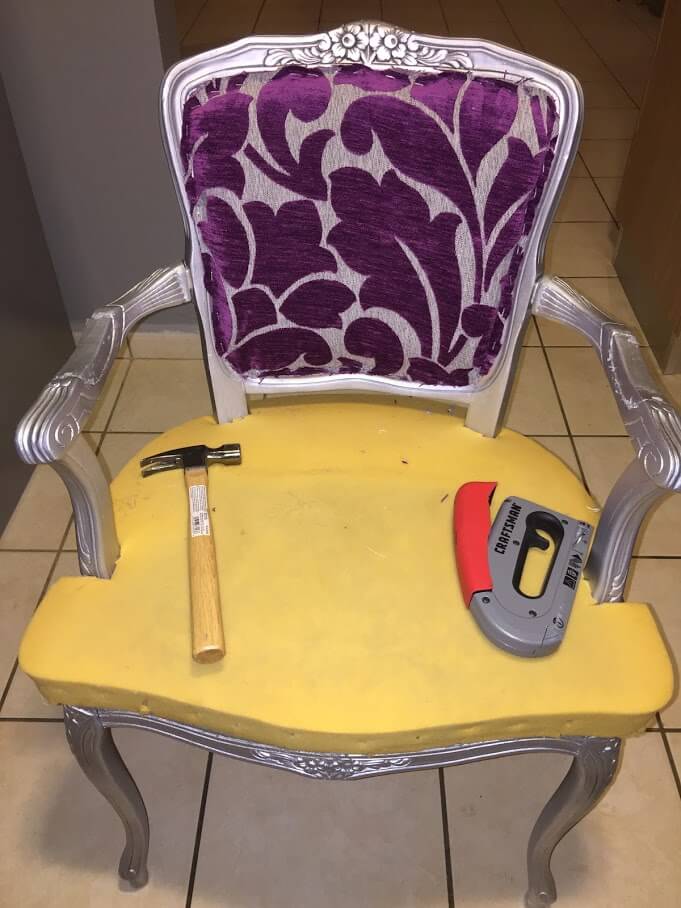
Reupholster vintage chair: halfway through the process
Once I stapled the fabric to the seat and to the back, this is how the chair looked. Así lucía la butaca. The only things left were the arm rests and the piping for termination, so all the staples are hidden.

I can do many things. I am not afraid of tools and have since learned to use power tools. But I SUCK, I REALLY SUCK at sewing. So I got help from someone who does know how to sew. Actually I think it was my upholstery teacher when I started the classes. I then glued the piping to the chair and…
Here is my first reupholstery project and my first furniture makeover ever!

I LOVE this chair. A year later I still love it and feel very proud of it lol.
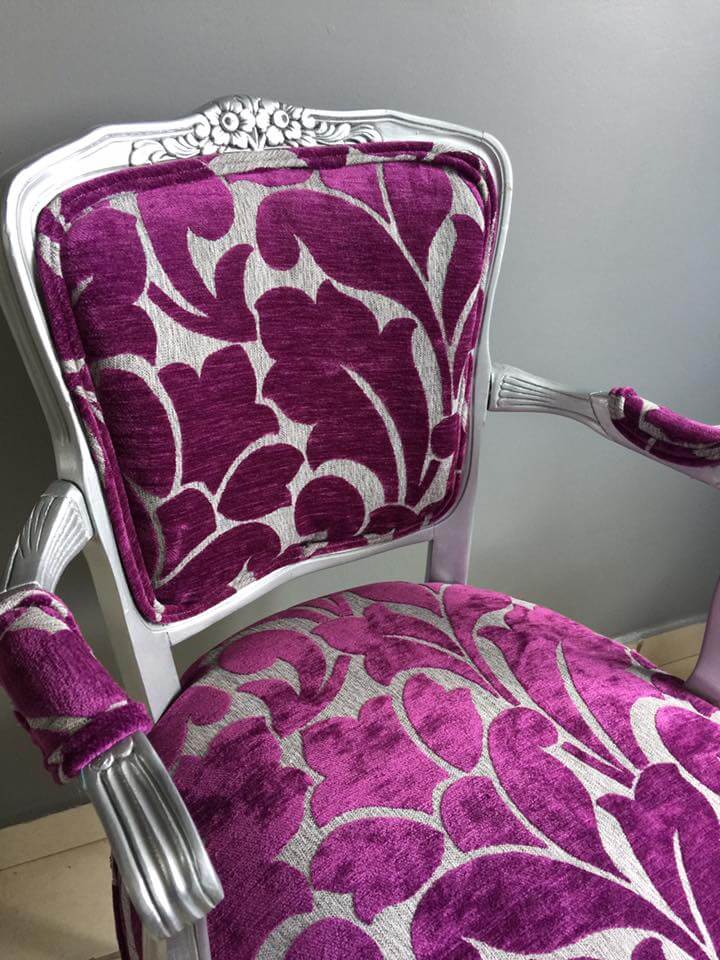
Here she is, in all her glory!!!
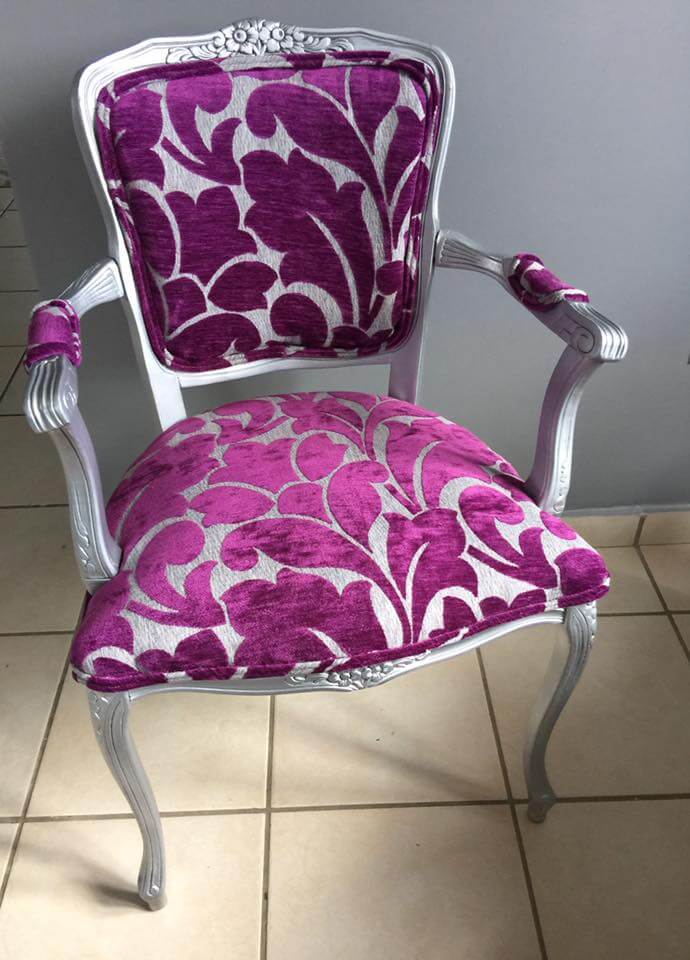
Reupholster vintage chair: fully reupholstered chair
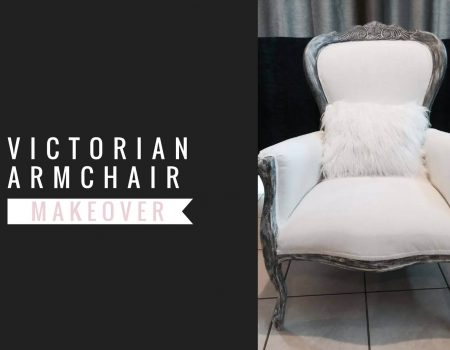
If you liked this tutorial for how to reupholster vintage chair, check this Victorian armchair makeover.
 https://www.bellisimaonline.com/wp-content/uploads/2018/11/logo-bellisima-magenta-2-1.png 190 40 https://www.bellisimaonline.com/wp-content/uploads/2018/02/vintage-armchair-makeover.jpg 1227 916


