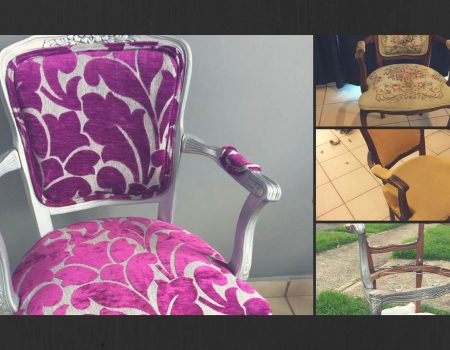
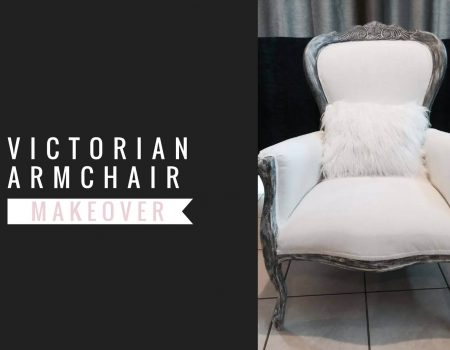
I found this chair at a garage sale type of group on Facebook and started flirting with going on the crazy DIY adventure and learn how to reupholster a Victorian armchair. The price was great and the condition of the chair was pretty good. I fell in love with the curves and details of the frame. However, I did not like the fabric and colors. Simply not my style. So I decided she needed to undergo a makeover.
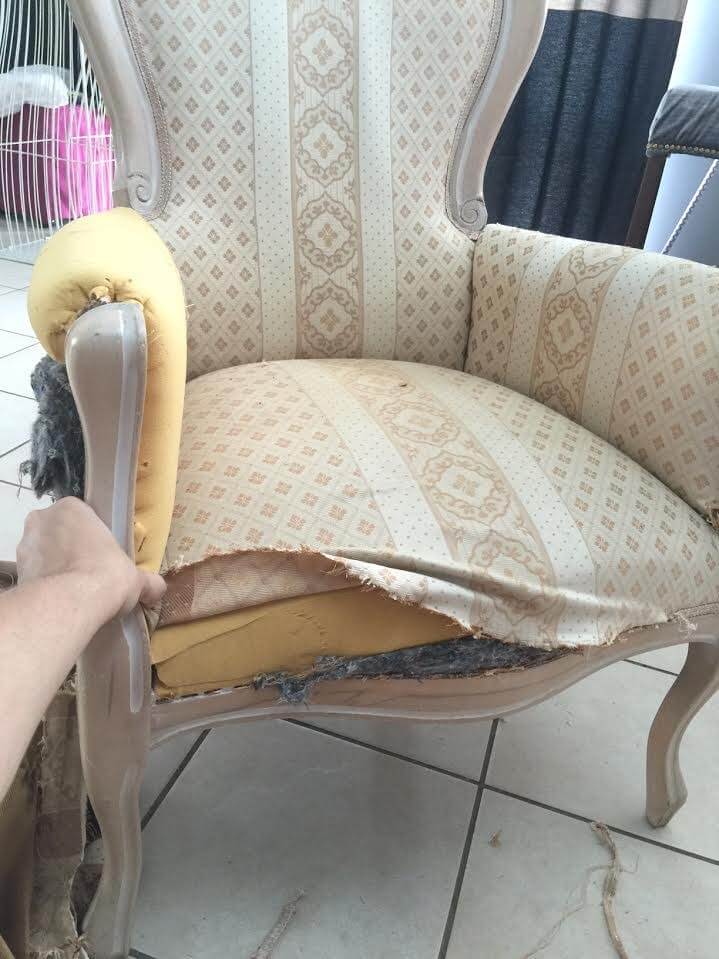
This is how it looked before.
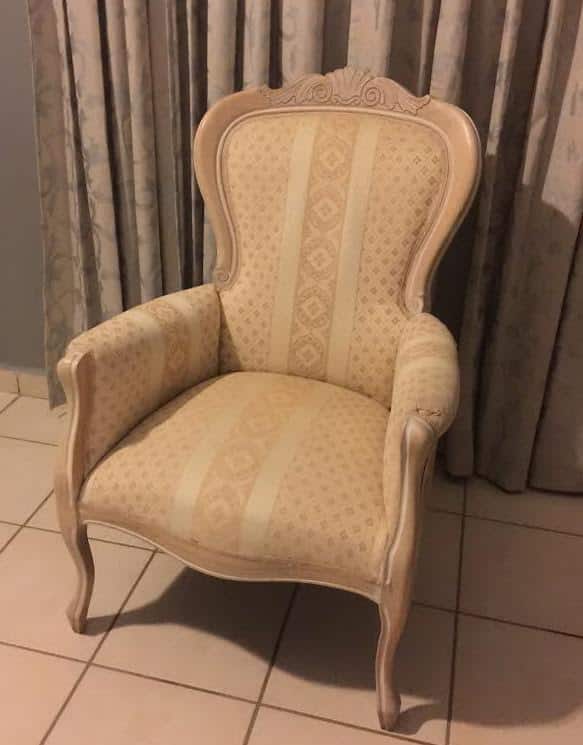
*IMPORTANT* Make sure to shoot a million pics of all sides of the chair before you start tearing it apart. TRUST ME. They will come in handy when you are trying to figure out how things are supposed to go.
Featured articles
Isis Casalduc Bellisima  https://www.bellisimaonline.com/wp-content/uploads/2018/11/logo-bellisima-magenta-2-1.png 190 40 https://www.bellisimaonline.com/wp-content/uploads/2018/12/marcas-de-maquillaje-que-no-hacen-pruebas-en-animales-1.png 1600 1000
 Isis Casalduc Bellisima  https://www.bellisimaonline.com/wp-content/uploads/2018/11/logo-bellisima-magenta-2-1.png 190 40 https://www.bellisimaonline.com/wp-content/uploads/2018/12/marcas-de-maquillaje-que-no-hacen-pruebas-en-animales-1.png 1600 1000
 Isis Casalduc Bellisima  https://www.bellisimaonline.com/wp-content/uploads/2018/11/logo-bellisima-magenta-2-1.png 190 40 https://www.bellisimaonline.com/wp-content/uploads/2018/04/receta-bolitas-de-queso-fritas.jpg 1200 420
 Isis Casalduc Bellisima  https://www.bellisimaonline.com/wp-content/uploads/2018/11/logo-bellisima-magenta-2-1.png 190 40 https://www.bellisimaonline.com/wp-content/uploads/2018/01/maquillaje-bien-económico-2-1-1200x420-2.jpg 1200 420
 Isis Casalduc Bellisima  https://www.bellisimaonline.com/wp-content/uploads/2018/11/logo-bellisima-magenta-2-1.png 190 40 https://www.bellisimaonline.com/wp-content/uploads/2018/01/ideas-de-meriendas-saludables.jpg 1200 420
 Isis Casalduc Bellisima  https://www.bellisimaonline.com/wp-content/uploads/2018/11/logo-bellisima-magenta-2-1.png 190 40 https://www.bellisimaonline.com/wp-content/uploads/2018/11/DIY-agate-drawer-pulls-1.png 1600 1000
 Isis Casalduc Bellisima  https://www.bellisimaonline.com/wp-content/uploads/2018/11/logo-bellisima-magenta-2-1.png 190 40 https://www.bellisimaonline.com/wp-content/uploads/2018/01/ideas-decoracion-para-la-habitacion.png 653 416
 Some people, including some pros, just upholster over the old fabric. YES, it’s a hell lot easier that way. However, in most cases, I get a terrible eeeckkk factor because the fabric simply reeks! Not always, but sometimes it does!. And sometimes it’s so bad that it doesn’t matter how much baking soda and vinegar, Lysol or whatever solution you might think of and try to spray on it… IT. STILL. REEKS. LOL
So of course I did remove the stinky fabric. Remember that I mentioned taking lots of pictures? It’s because chances are you won’t be able to remember what goes stapled where and in what order. And trust me, the last thing you want to do is “finish” with a step only to realize you got the order wrong and now there is no way to get another part stapled where it needs to be stapled and therefore you need to remove the fabric and even risk losing a big chunk of fabric.
You can see what I use for removing fabric here in my list of upholstery supplies and tools.
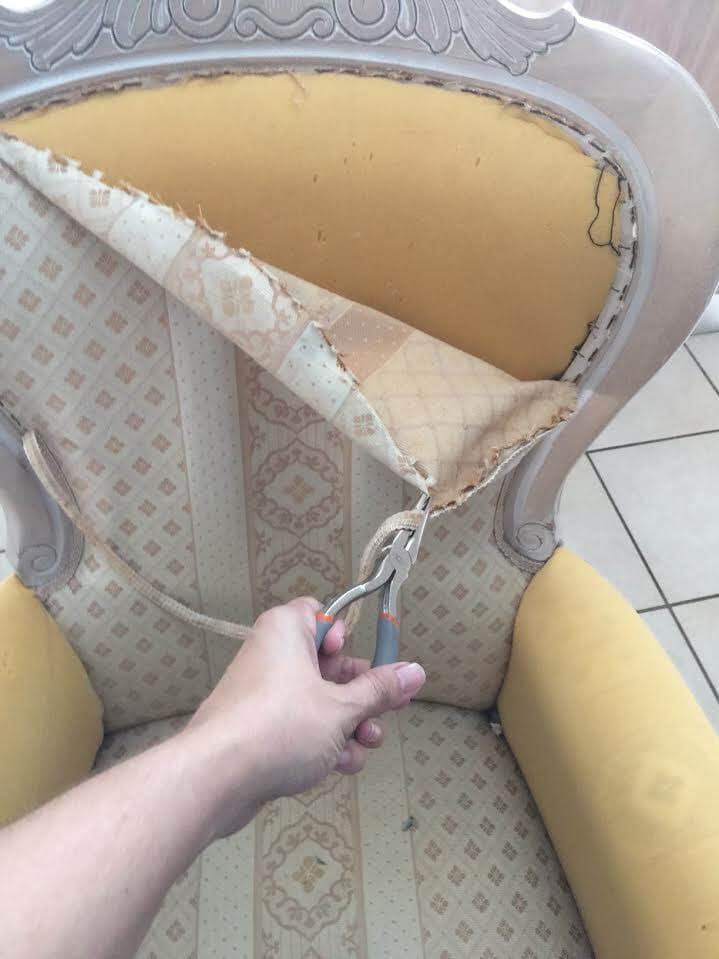
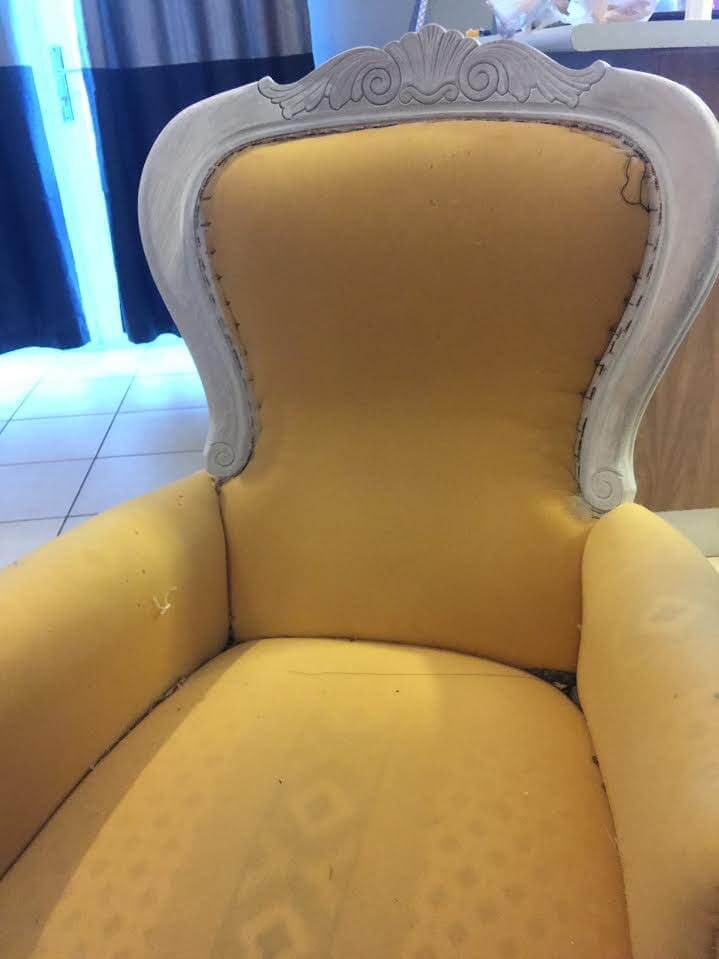
This arm chair’s foam seemed in pretty good condition. And once the fabric was removed, the foam did not smell funny. So I used a bit of antibacterial spray and after a while, checked it again. Since my first impression of the foam had not changed, I decided to keep the foam and not remove it. That saves time and money. Just in case you haven’t given upholstery a go just yet, foam is not really that cheap and some stores will only sell you big sheets. Since usually you need different levels of thickness in a single chair, you might need to buy different sheets and that can get a bit expensive.
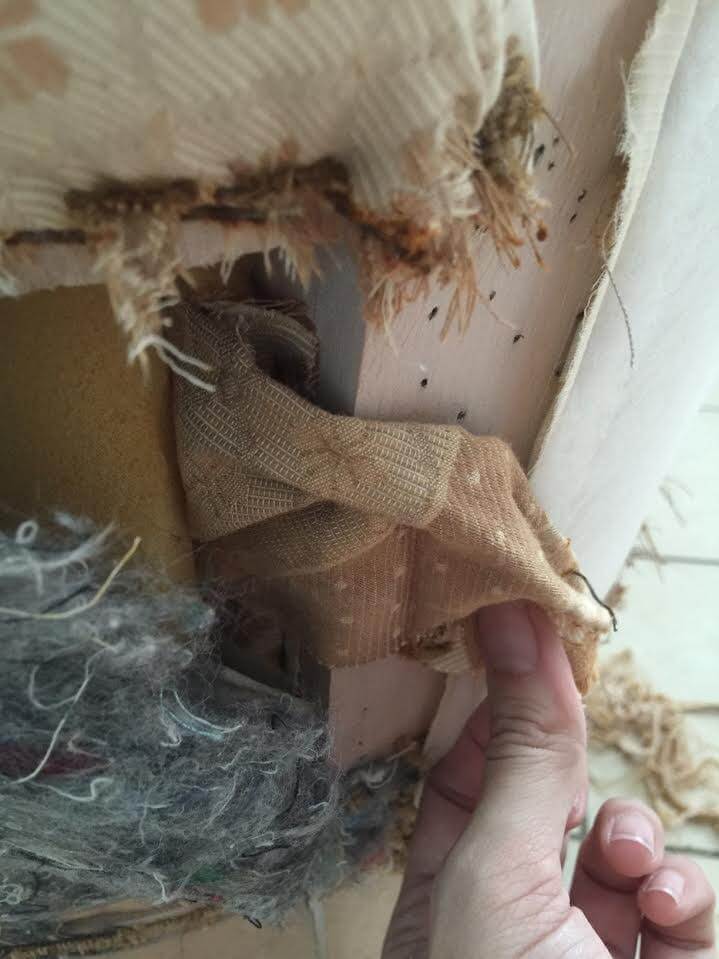
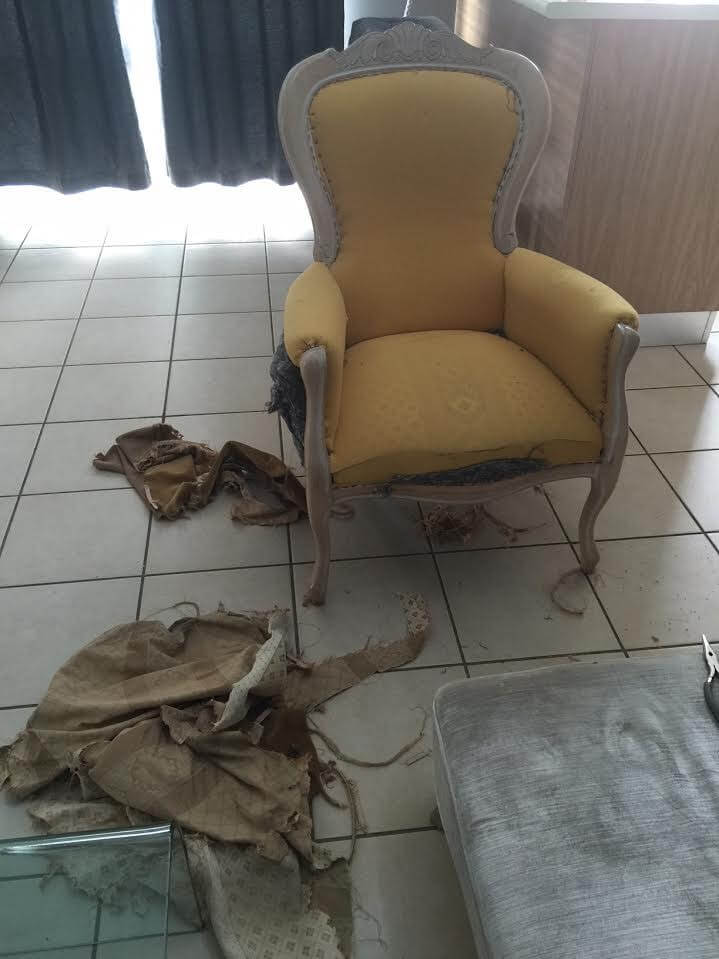
It’s pretty “interesting” what you can find in a pre loved chair when working on it. Money, bobby pins, jewelry, toys… you name it. But in very old furniture you can also see fabrics and materials that are not that common anymore. That’s not the case of this chair as it’s not really an antique. But in this pics you can see how the chair looks once fabric is removed.
You can notice below how the fabric from the arms is secured and stapled to the frame in the outer part of the arms.
Naked chair. Oh… btw, a vacuum cleaner will be your friend once you are done with your victorian chair makeover. Learning how to reupholster a victorian armchair can be fun and frustrating at times… and your work area into a complete mess of fabric, staples and very tiny pieces of foam all over the place. But I promise if you can figure it out ( with a little help from this post ) it will be SO worth it!
Ok, so I got rid of the fabric. But remember I mentioned I did not liked the original color of the wood? Well, I decided I wanted it gray and white. So I painted the frame with some home made chalkpaint. A very light home made version of it.
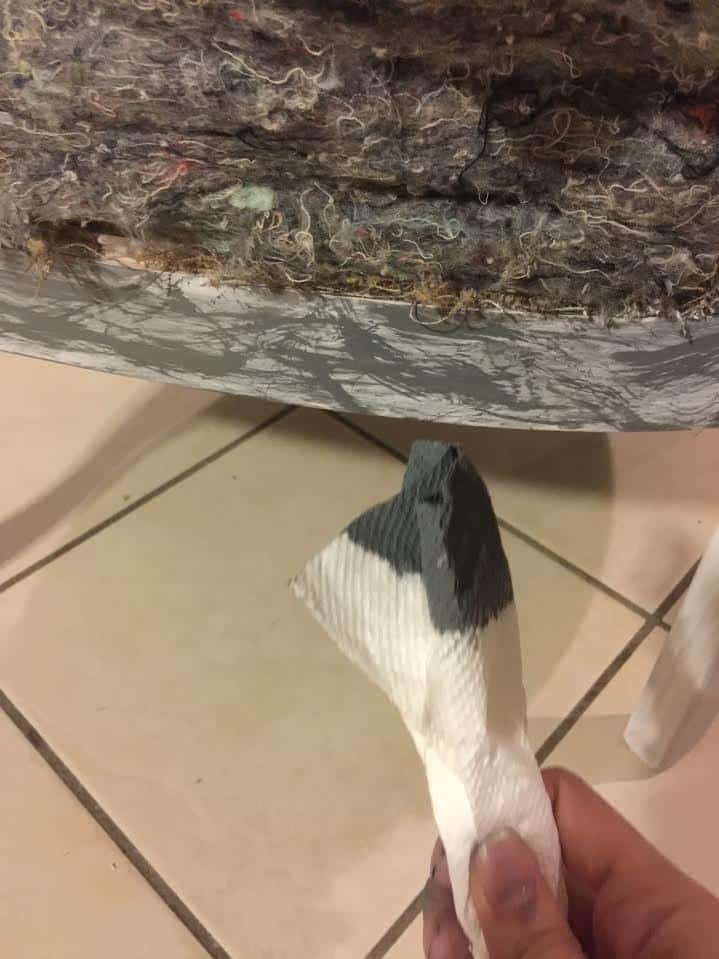
Then I started painting it in a funky way, using a rolled napkin dipped in gray acrylic paint.
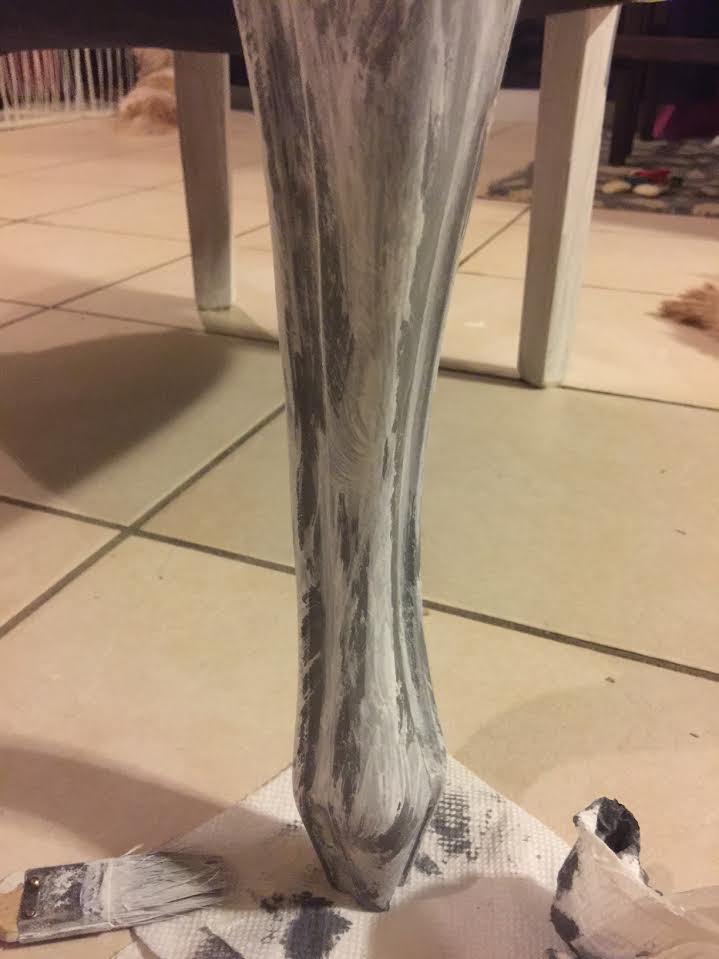
I kept alternating between gray and white paint until I liked how it looked.
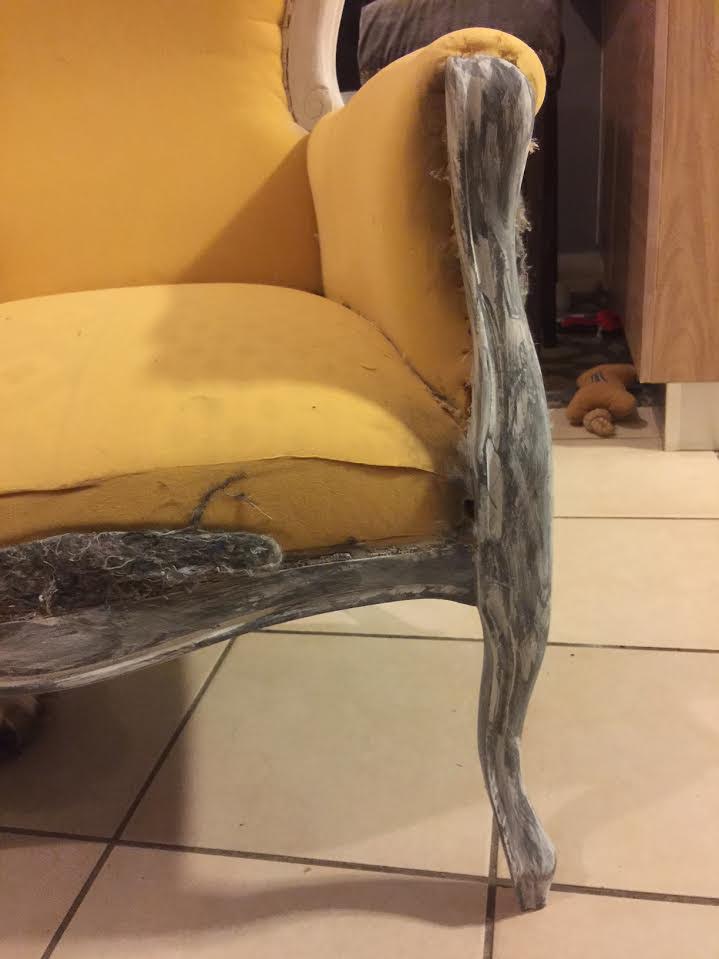
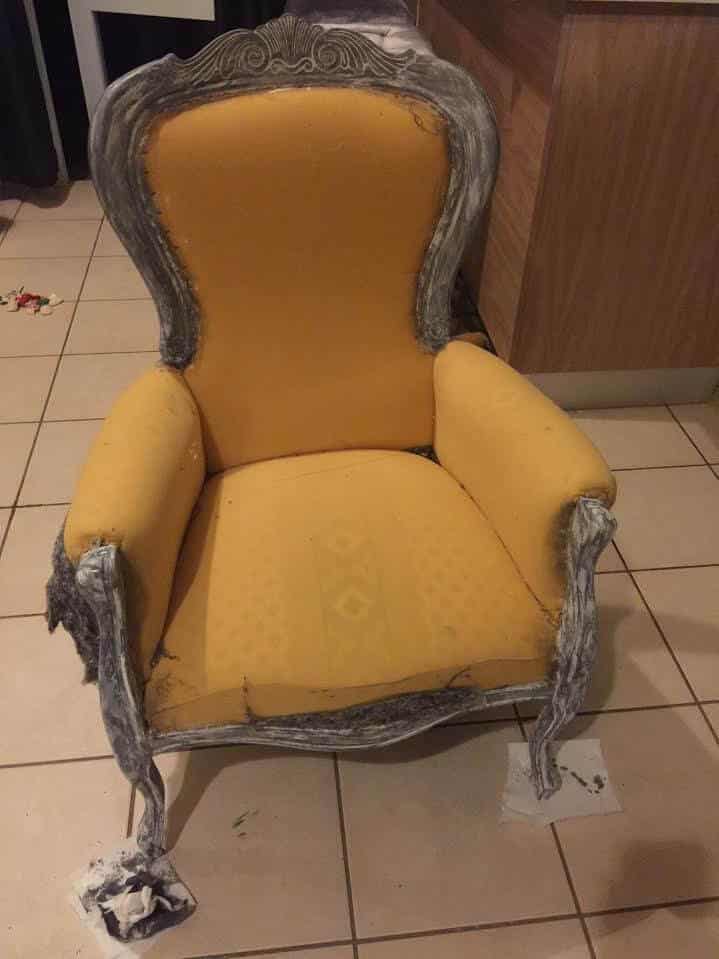
This is how the frame ended looking. I let it dry overnight.
Click here for part 2 of this tutorial on how to reupholster a victorian armchair.
 https://www.bellisimaonline.com/wp-content/uploads/2018/11/logo-bellisima-magenta-2-1.png 190 40 https://www.bellisimaonline.com/wp-content/uploads/2018/01/how-to-reupholster-victorian-armchair.jpg 1920 1271


